The Asphalt Shingle Roof Installation Process Explained Step by Step
People searching for asphalt shingle roof installation often want to understand the process and find local contractors who can expertly handle each step.
Understanding the asphalt shingle roof installation process explained step by step can provide property owners with valuable insights into what to expect when upgrading or replacing their roof. Whether planning a new installation or replacing an aging roof, knowing the general stages involved helps homeowners make informed decisions and prepare for the project ahead. Property owners in the area often explore this topic to better understand the work involved, ensure proper procedures are followed, and find trusted local contractors who can handle each phase with expertise and care.
Local service providers specializing in asphalt shingle roof installation are equipped to manage every step of the process, from initial preparation to final inspection. By connecting with experienced contractors, property owners can gain peace of mind that their roofing project will be completed efficiently and to high standards. Keep reading to learn more about the typical steps involved in asphalt shingle roof installation and discover how local pros can help bring your roofing project to life with professionalism and quality workmanship.
- Asphalt shingle roof installation - homeowners considering a new roof may seek local contractors to handle the step-by-step process efficiently.
- Roof replacement projects - property owners replacing aging or damaged roofs often rely on local service providers to ensure proper installation of asphalt shingles.
- Residential roofing upgrades - those upgrading their homes' exteriors might look for local pros experienced in asphalt shingle installation to improve durability and appearance.
- Storm damage repairs - after severe weather, individuals needing roof repairs may contact local contractors to carefully re-install asphalt shingles following the proper process.
- New construction roofing - builders and developers incorporating asphalt shingles into new builds often work with local pros familiar with the step-by-step installation method.
When homeowners search for the asphalt shingle roof installation process explained step by step, they are typically seeking a clear understanding of what to expect when replacing or installing a new roof with asphalt shingles. This topic often comes up during planning phases for roof replacements, new construction projects, or major repairs. Many property owners want to know how the work progresses, what stages are involved, and how long the process takes. Understanding these details helps homeowners coordinate other aspects of their property and ensures they choose experienced local contractors who can handle each step professionally.
This process is closely related to various property concerns, including weather damage, aging roofs, or upgrades to improve curb appeal and property value. Homeowners might be dealing with leaks, drafts, or visible wear that signals the need for a new roof. They may also have plans to sell their home or simply want to enhance its durability. The asphalt shingle roof installation process explained step by step provides insight into how local contractors prepare the roof deck, install underlayment, and lay down the shingles to ensure a long-lasting and effective roofing system. This knowledge helps property owners make informed decisions when selecting service providers for their specific project.
The types of properties that typically involve asphalt shingle roof installations include single-family homes, multi-family residences, and small commercial buildings. These structures often feature pitched roofs, which are ideal for asphalt shingles due to their durability and ease of installation. Homeowners with traditional or modern architectural styles may prefer asphalt shingles for their affordability and wide range of colors and styles. Local contractors experienced in asphalt shingle installations understand the nuances of different property types and can adapt their approach accordingly, ensuring the installation process aligns with the unique features of each property.
Understanding the asphalt shingle roof installation process explained step by step helps homeowners see how local service providers fit into their projects. These professionals are responsible for preparing the roof surface, removing old materials if necessary, installing proper underlayment, and carefully laying down the shingles to maximize lifespan and performance. Knowing what each stage entails allows property owners to better evaluate potential contractors, ask informed questions, and ensure the work is completed to high standards. Connecting with experienced local pros ensures that the installation process is handled efficiently and correctly, contributing to the roof’s durability and the property's overall value.
Roof Underlayment Installation - this project involves preparing roof decks with protective underlayments, a skill shared with asphalt shingle roof installation to ensure proper moisture barriers.
Roof Deck Repair and Replacement - repairing or replacing damaged roof decks requires similar planning and surface preparation as installing new asphalt shingles.
Flashing and Ventilation System Installation - installing flashing and ventilation components is essential for roof durability and shares techniques used in asphalt shingle roofing projects.
Roof Inspection and Assessment Services - evaluating roof condition and identifying necessary repairs involves skills related to assessing asphalt shingle roof installations.
Gutter and Drainage System Installation - installing gutters and drainage systems complements roofing projects by protecting the structure, requiring similar planning and tools.
Roof Repair and Leak Fixing - addressing leaks and minor repairs involves techniques comparable to those used in the asphalt shingle roof installation process explained step by step.

When evaluating local contractors for asphalt shingle roof installation services, it is important to consider their experience with similar projects. Homeowners should inquire about the types of roofs they have installed and the complexity of previous work to ensure they have relevant expertise. A contractor with a proven track record in handling asphalt shingle roofs can better anticipate potential challenges and deliver a smoother installation process. Additionally, requesting reputable references or examples of completed projects can provide insight into the quality of their work and reliability, helping homeowners feel more confident in their choice.
Clear, written expectations are essential when comparing service providers for the asphalt shingle roof installation process explained step by step. Contractors should be willing to provide detailed descriptions of the work involved, including preparation, installation procedures, and cleanup. This transparency helps homeowners understand what services will be provided and sets realistic standards for the project. Having these expectations documented can also serve as a basis for addressing any questions or concerns throughout the process, ensuring that both parties are aligned from start to finish.
Effective communication is a key factor when selecting local contractors for asphalt shingle roof installation services. Homeowners should look for service providers who are responsive, willing to answer questions, and able to clearly explain the different stages of the installation process. Good communication fosters trust and helps prevent misunderstandings or surprises during the project. By choosing contractors who prioritize open dialogue and provide comprehensive information, homeowners can better navigate the installation process and feel more assured that their needs and expectations are being understood and addressed throughout the project.
Property owners often search for the asphalt shingle roof installation process explained step by step when they are planning practical projects around their homes and businesses. Local pros provide Asphalt Shingle Roof Installation services for everyday jobs and straightforward project options.
Understanding the asphalt shingle roof installation process explained step by step can help property owners in the area make informed decisions about their roofing projects. Many homeowners and property managers seek this information to better understand what to expect when replacing or installing a new roof. Local contractors who specialize in asphalt shingle roofing can guide property owners through each stage, from preparing the existing roof to the final inspection, ensuring the project proceeds smoothly and meets expectations.
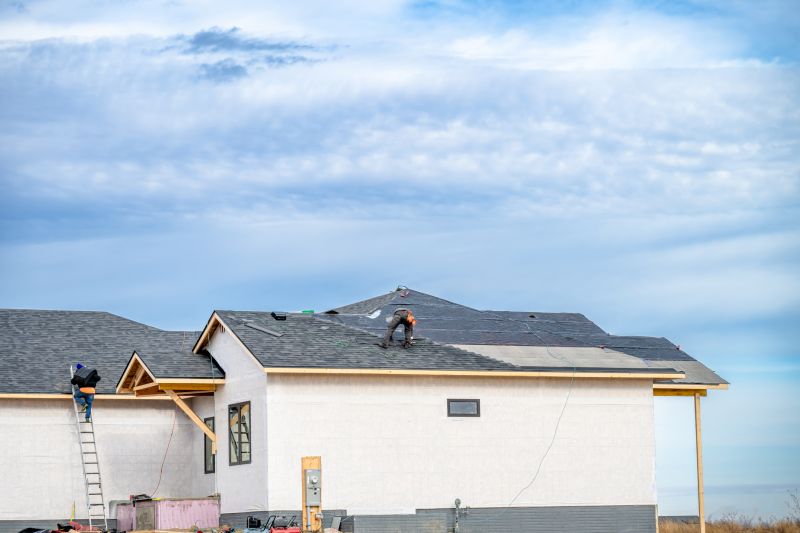
For those considering a roof replacement, knowing the typical steps involved can also clarify why professional installation is important. Local service providers are equipped to handle the entire process, including removing old roofing material, inspecting the underlying structure, and properly installing new asphalt shingles to ensure durability. This knowledge can help property owners choose experienced contractors who understand the intricacies of the asphalt shingle roof installation process explained step by step, leading to a successful and long-lasting roof.
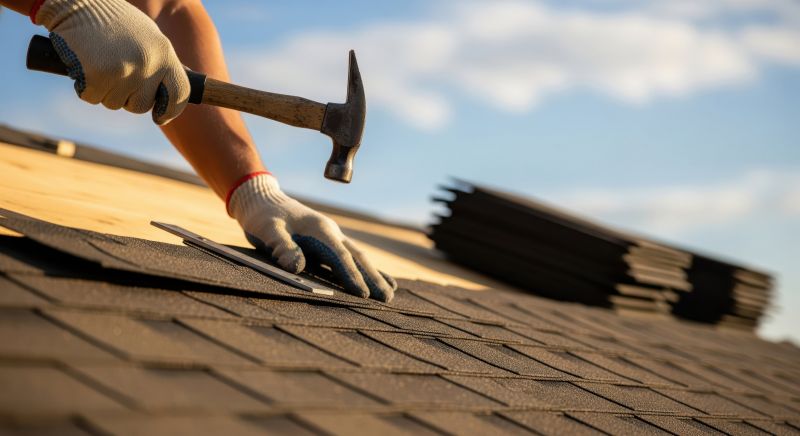
What are the main steps involved in the asphalt shingle roof installation process explained step by step? The process typically includes removing the existing roof, inspecting and preparing the roof deck, installing underlayment, applying the shingles, and finishing with proper sealing and flashing. Local contractors follow these steps to ensure a durable and properly installed roof.
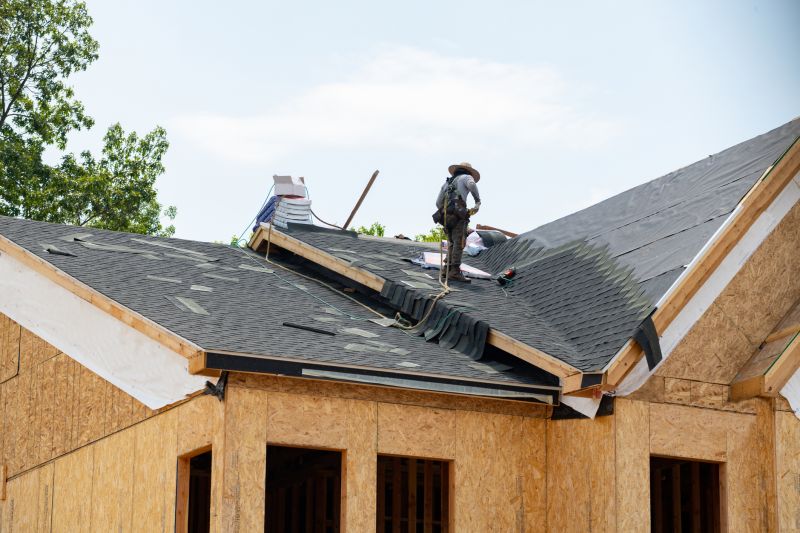
How do local service providers prepare for installing asphalt shingles? They start by inspecting the existing roof structure, clearing debris, and making necessary repairs to the roof deck to provide a solid foundation for the new shingles.
What materials are used during the asphalt shingle roof installation process? Common materials include asphalt shingles, underlayment, roofing nails, flashing, and sealants. Local pros ensure the right materials are used for quality and longevity.
Why is proper underlayment important in the asphalt shingle roof installation process? Underlayment acts as a protective barrier against moisture and weather elements, helping to prevent leaks and extend the roof's lifespan, which local contractors prioritize during installation.
How do local pros ensure the asphalt shingles are properly installed during the process? They follow manufacturer guidelines, secure shingles with appropriate fasteners, and ensure proper alignment and sealing to maximize durability and performance of the roof.
Understanding the process steps - property owners can learn about each stage of the asphalt shingle roof installation to better prepare for their project with local contractors.
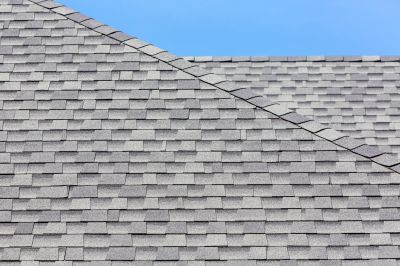
Selecting the right materials - choosing asphalt shingles that match the property's style and weather needs can be guided by local pros during the planning phase.
Preparing the roof surface - ensuring the existing roof is properly inspected and prepped helps facilitate a smooth installation with assistance from local service providers.
Final inspection and cleanup - property owners can focus on the importance of a thorough review and cleanup after installation, which local pros can handle professionally.
If you are thinking about the asphalt shingle roof installation process explained step by step for a property, this guide is meant to help you understand this topic, the typical project types, and how different options might fit your plans.
When you are ready, you can use the quote form on this page to share a few details about your project. From there, local pros can review the basics and follow up with options that match what you have in mind.